Green resolutions for the new year
The end of December is approaching and, as always, there are lots of New Year’s resolutions to make. Maybe you are thinking of removing some tree roots to create a shaded area for having lunch during the summer, cleaning the outside walls of the house to freshen up its appearance, and even creating an attractive path leading from the back door to the centre of your garden.
Too bad that the enthusiasm you felt during the holidays has been sapped since you returned to the daily routine and—partly out of laziness and partly due to the challenge involved—you end up putting your grand garden designs on the back burner.
Do not fear. Thanks to our valuable tips, this year your good intentions can finally flower into magnificent projects. So, roll up your sleeves and let's get started!
How to make a gravel path
Among the various types of path, gravel paths are still the most classic and popular.
You can build one leading from your entrance gate to the front door of your house, as a partition between your front garden and driveway, or as a means of demarcating the barbecue area.
The rustic flavour of the stones goes well with the brightly coloured vegetation and flowers, giving homes a quaint, country farm look.
Furthermore, this solution not only spruces up your outdoor spaces, it is also functional from an environmental point of view. Because unlike asphalted surfaces, gravel paths allow water and snow to penetrate into the ground, avoiding the unpleasant effects of stagnation and flooding.
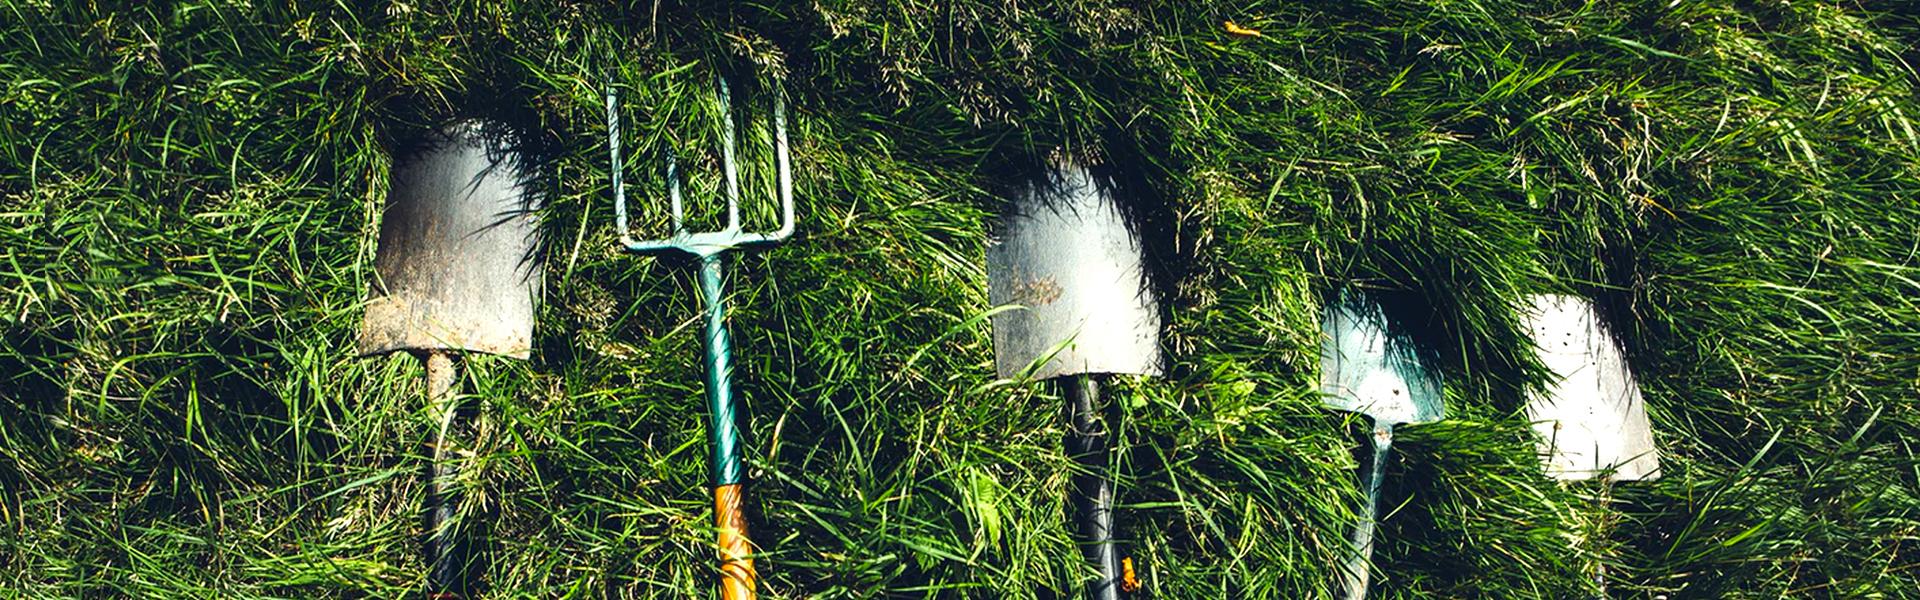
You will need:
- wooden or aluminium kerbs
- garden gravel
- mulching sheet
- shovel, pickaxe and rake
- transporter
- utility gloves
- chain-resistant boots
Procedure:
Start by taking measurements. Demarcate the route with stakes and calculate how much gravel you will need to buy, by multiplying the length, width and depth of the pathway you want to build. Decide whether you want to spread one or more layers of stones and always keep in mind that each layer should have a minimum depth of 10-15 cm.
Once you have purchased all the materials, put on a pair of chain-resistant boots with non-slip soles and a pair of utility gloves and start displacing soil using the shovel, taking care to eliminate all weeds and debris that you come across.
Flatten the earth with the pickaxe and spread the mulching sheet on the levelled surface. This fabric layer is very important because it ensures proper settling and efficient drainage of the gravel. Insert the kerbs to mark the edges of your path and to prevent the stones from spreading beyond the defined perimeter.
Pour the gravel onto the sheet. You can reduce the effort needed by relying on a compact transporter: the loading deck can be tipped manually to 45° and its extendable side panels are ideal for loading and transporting jobs.
Spread out the stones evenly using the rake and you're done!
How to clean the exterior walls of the house
Despite our best intentions, this is perhaps the one job that we are most likely to put off. Partly because no one likes cleaning and partly because doing it the wrong way makes the task even more time-consuming and tedious.
But if done with the right products and tools, cleaning the walls of your home can be done quickly and easily.
You will need:
-
water
-
washing up liquid
-
sodium percarbonate
-
plastic bucket
-
abrasive sponge
-
cold water high-pressure washer
-
accessories for high-pressure washers
-
utility gloves
-
protective spectacles
-
adhesive tape
Procedure:
Before cleaning, always make sure that the weather conditions are favourable. Ideally this activity should be carried out in springtime, when the sunnier days will help the walls to dry out faster.
Wear a pair of utility gloves and protective spectacles to protect your hands and eyes; place strips of tape along the perimeter of the windows and doors, to avoid damaging them; and cover any electrical or ventilation systems with plastic sheets.
Prepare the sanitising solution, which will help you remove stains from the exterior walls of the house, by filling a bucket with 4 l of water and mixing it with 800 g percarbonate and 30 ml washing up liquid. Soak the abrasive sponge in the liquid and wipe any areas where you can see mould and traces of damp, to remove the most stubborn residues.
Then start spraying water towards the base of the house walls using a cold water high-pressure washer with rotary nozzle head, working on small patches at a time and sweeping the hose from side to side.
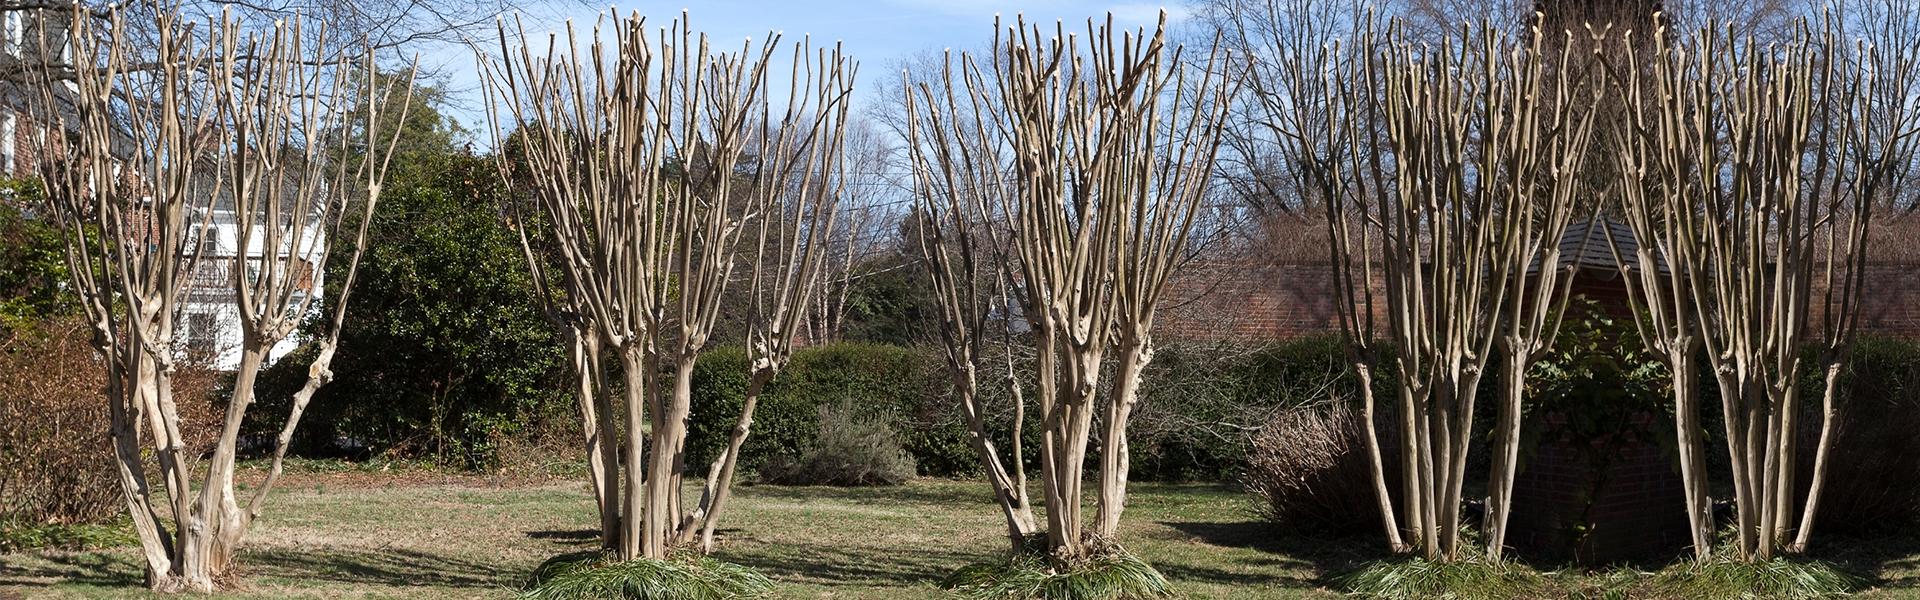
How to get rid of tree roots
If you want to eliminate tree roots to create a relaxation area in your garden, but haven’t yet found the time or inclination to do it, then be aware that letting roots grow unchecked not only makes the eventual clean-up job even more laborious, but also threatens the stability of your home and surrounding paved surfaces. Which is another good reason to equip yourself with the necessary tools and get the job done immediately.
You will need:
- compact chainsaw
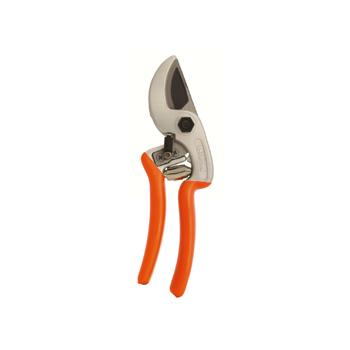
- pruning saw and shears
- shovel
- pickaxe
- herbicide
- chain-resistant gloves
- anti-cut jacket
- topsoil
Procedure:
After donning the gloves, protective spectacles and anti-cut jacket, begin digging a hole around the roots using the shovel. When all the roots are exposed, vigorously strike the trunk with the pickaxe to create fractures that will make uprooting it easier. Then take your compact chainsaw and begin removing the roots with precise cuts, without being overly aggressive. Never focus the jet on a specific point: keep it moving to avoid the high water pressure damaging isolated areas.


Excessive pruning could weaken the plant and cause it to die over a period of years. Help yourself by purchasing some pruning shears and pruning saws for finishing tasks: it’s important that all roots are removed permanently, to prevent them from rapidly regrowing.
If this happens, you can spray herbicide on the new shoots. However, don’t forget to prevent the chemical from spreading to the rest of the plant, as this could irreparably damage it.
When you are sure you have performed all the steps correctly, you can then cover everything with topsoil and sow new grass.
Related articles

Secrets to successful squash growing

Pruning persimmon trees: when and how to do it
Why topping is so harmful, plus some alternative cutting techniques
Read the article