How to grow a vegetable garden

Any season of the year is good for planting and harvesting vegetables in your garden, enabling you to fill your dinner table with seasonal flavours, aromas and colours all year round, from green chicory in winter to purple aubergines in summer.
To cultivate a vegetable patch and enjoy an abundant harvest, you need to devote some time to soil preparation: investing a bit of time and energy into this activity will reap dividends in the long run. In this article we talk about how to prepare the soil for your vegetable patch.
Soil preparation for the vegetable patch: why and when
Why prepare soil for growing vegetables? Because soil itself is the variable that makes the difference between a good harvest and a poor one. Soil not only serves as an anchor for plants so that they can take root, but is also the medium through which plants absorb the water and nutrients they need to develop.
Therefore, soil needs to be well worked and fertilised in order to be fertile and of the right consistency — not too loose or compact. Only then can roots grow, absorb water and nutrients, and breathe without rotting from lack of air due to water stagnation.
Optimal soil preparation involves two stages:
-
Deeper tilling performed in autumn-winter.
-
More superficial tilling in the spring or, in any case, before sowing or planting seedlings.

Preparing your vegetable patch: how to do it
Deeper tilling in autumn-winter involves lifting and breaking clods with your spade or pitchfork down to a depth of 25-40 cm. If you lift the clods without overturning them, you will preserve the microorganisms useful to plants that live in the soil. Clear the remains of previous crops before starting, and remove weed roots and any stones that you dig up while preparing the soil.
What if the soil is clayey or silty, in other words, rather heavy and compact? You can lighten it by adding sand. If, on the other hand, the soil is predominantly sandy, you can enrich it with organic matter (such as mature manure and compost) or potting soil. In addition to improving the structure of sandy soil, organic matter also helps you to fertilise the vegetable patch, making it more fertile and richer in nutrients for your vegetables. As an alternative to organic fertiliser, you can use synthetic fertilisers such as classic NPK fertilisers, which contain three of the macro-nutrients needed by plants: nitrogen, phosphorus and potassium. So, after breaking up clods with your spade or pitchfork, sprinkle some fertiliser with sand or potting soil on your vegetable patch.
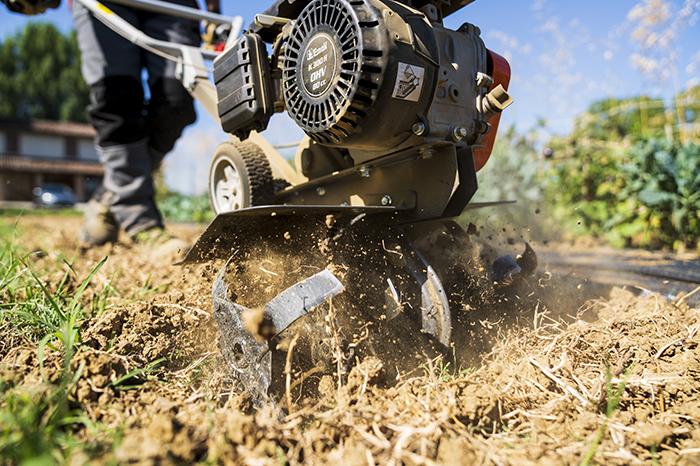
We also need to do some surface tilling before sowing or transplanting: using a hoe, pulverise clods in the top 10-20 cm layer of soil to prepare the bed for your seeds and seedlings. Finally, use a rake to level the surface and further loosen the soil. Levelling prevents depressions that cause water to stagnate on the surface. Alternatively, you can make a raised bed by creating mounds 10-30 cm high.
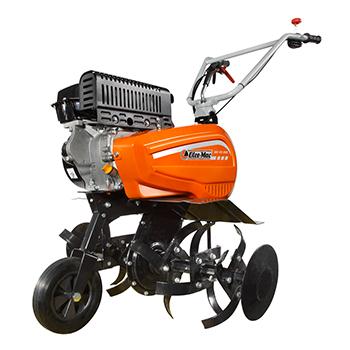
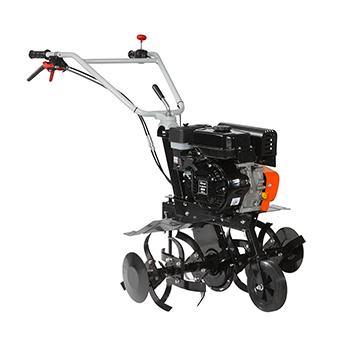
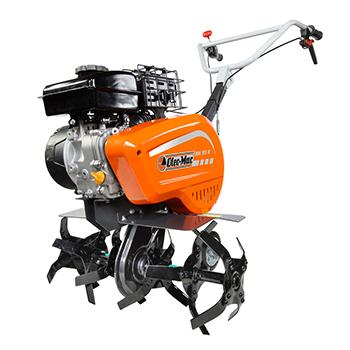
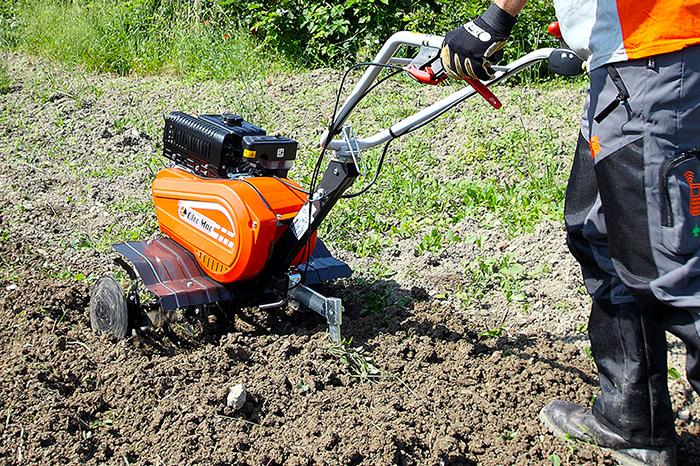
Instead of using a spade, pitchfork or hoe to till soil, you can use a rotary tiller, as Matt The Farmer does in this video. The model he uses is an MH 175 RKS, the new medium power rotary tiller from Oleo-Mac with petrol engine and 82 cm rotor with 3+3 blades, which you can disassemble in an instant to reduce the cutting width to 55 cm and work with only with 2+2 or 1+1 blades. With the MH 175 RKS you can also till soil deep down thanks to the plough, which is one of several accessories for rotary tillers that Oleo-Mac supplies.
If your vegetable garden is small or located in a less accessible corner of your garden, you can opt for the new MH 155 K compact rotary tiller featuring a 46 cm rotor with 3+3 blades, which can be narrowed down to just 22 cm.
When preparing soil for your vegetable patch with manual tools or a rotary tiller, we advise you to wear suitable footwear, such as Oleo-Mac chain-resistant high boots with non-slip sole, rigid toecap and blade blocking protection on the top of the foot and on the shin.
Are you creating a vegetable garden from scratch? If so, choose an area that allows you to orient your vegetable plots in a north-south direction and in the most favourable position, with plenty of sun and no shade, so away from tall walls, trees or hedges. Before tilling, the soil needs to be cleared by mowing the grass and removing stones and other debris from the surface.
Create sections measuring around 1-1.20 m wide, with a distance of at least 20 cm between each one, so that you can pass comfortably between your crops. If you have dogs or cats, it may be helpful to protect your garden from trampling paws by erecting an enclosure around it.
Sowing and transplanting in the vegetable patch: when and how
Preparations for your vegetable patch are complete, now it is time to sow and transplant. Choose good quality seeds and seedlings and consult a planting calendar to identify the best time for planting, which also depends on your geographical location: it's all a question of temperatures. Vegetables require a minimum temperature to germinate, just as they need a suitable average temperature to grow, and both variables vary from one plant to the next.
Place the seeds and seedlings at the right depth and distances. It is better not to sow seeds/transplant saplings too close together: each one needs its own space to grow well. Arrange tall-growing vegetable species (like tomatoes) so that they do not block light from other plants. In addition, you can sow or transplant at staggered times (within the period recommended in the planting calendar) so as to lengthen the harvesting period. Who hasn't harvested kilos and kilos of tomatoes in the space of a few days, only to realise that they don’t know what to do with them?
Finally, to grow a successful vegetable patch it is advisable to adopt a crop rotation strategy, so that you don’t replant the same vegetable, or type of vegetable, for several consecutive years on the same bed. That way, you avoid the soil being depleted of nutrients and plants being attacked by parasites that target a particular species or family. It also means that year after year, you can alternate between vegetables with high nutritional needs (such as cabbage, potatoes, tomatoes), those with medium needs (carrots, fennel, radishes etc.) and less demanding plants (such as beans, peas and parsley).


